Free Water Cycle Printable: A Simple Homeschool Science Lesson
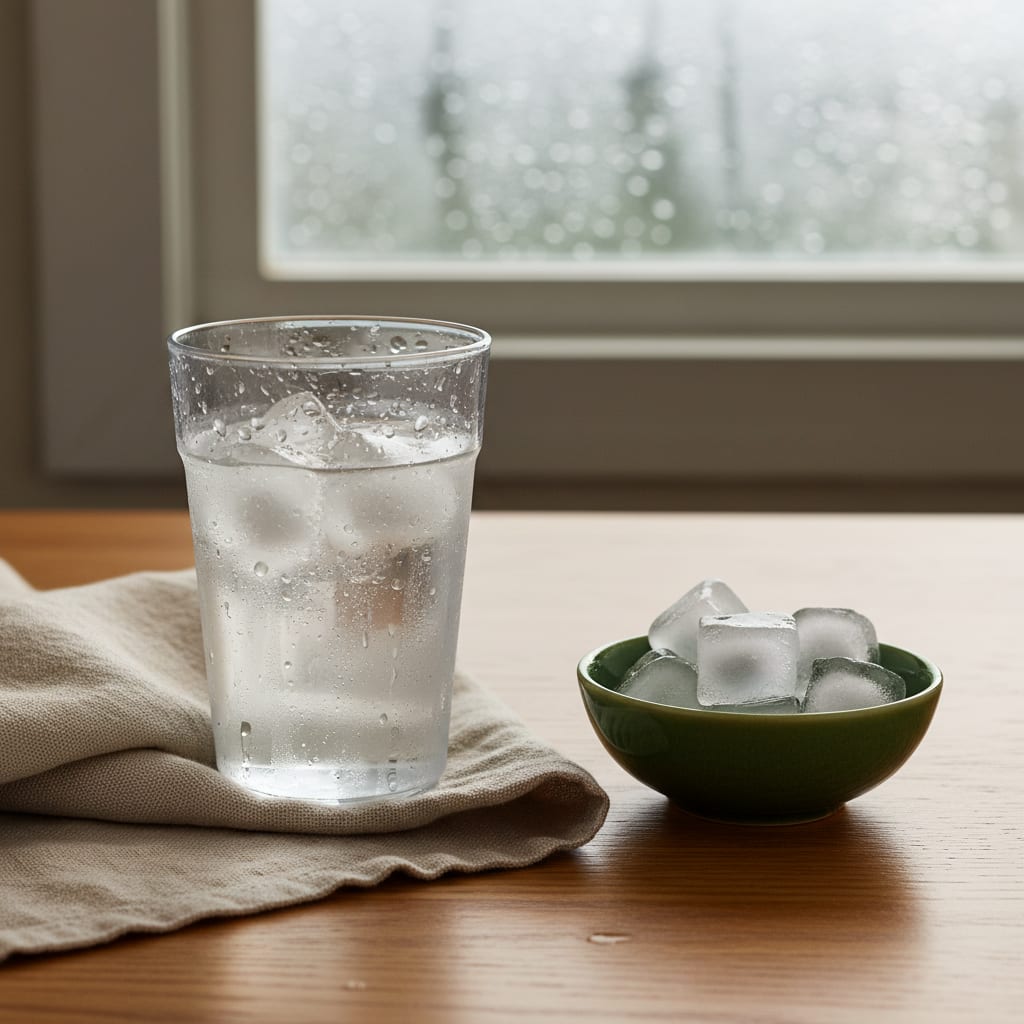
A cold drink can start a science conversation before you open a workbook. Why does the outside of the cup get wet? Where did that water come from? Those questions give children something to notice before they learn words such as evaporation and condensation.
Wondertock’s water cycle printable brings that conversation onto paper with picture matching, a diagram to label and a sequencing activity. Here is a manageable way to use it without turning every page into an assignment.
Disclosure: Wondertock provided permission to share this printable as part of a no-payment resource exchange. Wondertock has agreed to feature this article on its website and share it on Facebook.
Download the free water cycle printable
Download the free water cycle printable (PDF)
The download contains seven pages, including an answer key and parent notes.
Printable created by Wondertock, shared with permission for free home and classroom use. Keep the creator’s name and website on the pages and do not resell the pack.
What is included?
The seven-page PDF contains a cover, a water cycle labeling activity, vocabulary matching at two levels, a cut-and-sequence activity, a cold-cup experiment, a movement song, and an answer key with parent notes.
The pack is labeled for ages 5–8, with a Younger (K–1) picture-matching level and an Older (2nd–3rd) definition-matching level. Its pictures and sequencing offer an introductory starting point, while more confident readers can explain the processes in their own words. Choose by your child’s reading and science experience rather than expecting every child to complete every page.
A short lesson you can adjust
Allow roughly 20–30 minutes, including observation time, or divide the work across two sessions. Gather a printed activity page, a pencil, a clear plastic cup, ice, cold water and a towel. Scissors and glue are optional; children can number the sequencing pictures instead.
1. Start with a prediction
With an adult helping, put ice and cold water into a clear plastic cup. Dry the outside and place it on a towel. Ask whether the outside will stay dry or become wet. Record the prediction with a drawing or a few words.
2. Choose one paper activity while you wait
Use picture matching for a child who benefits from reading support, or the definitions and diagram for a more confident reader. Evaporation changes liquid water into water vapor. Condensation changes water vapor into liquid droplets. Precipitation brings water down from clouds, and collection describes water gathering in places such as lakes and rivers.
3. Return to the cup
Look for droplets after several minutes. How quickly they appear depends on the conditions, so a dry cup after five minutes is a reason to keep observing. Compare what happened with the prediction.
The droplets come from water vapor in the surrounding air that condenses on the cold surface. They have not leaked through the cup. Water vapor is invisible; the visible droplets are liquid water. An adult should supervise, and spills should be wiped up.
4. Put the journey in order
Use the four sequencing pictures to retell the simplified cycle. Ask what changes between pictures. If cutting takes more energy than the science, number the cards instead. The aim is to connect the ideas, not to produce a perfect craft.
Make it work for different ages
For an emerging reader, read the words aloud and let pointing, drawing or speaking count as an answer. Two activities with a useful conversation are enough.
For a more confident learner, ask: What is the difference between water vapor and a cloud? Where could water go after rain reaches the ground? The four-part diagram is an introduction, but water does not always follow one neat route. Some soaks into the ground, some flows into streams, and some remains stored as ice.
Siblings can observe the same cup while completing different matching tasks. They do not need identical worksheets to share a lesson.
Keep the screen optional
The pack accompanies Wondertock’s first water cycle episode and includes its video link. You can use the printable and cup observation without the animation. If you add the video, ask your child to explain one thing they noticed before moving to the worksheet.
You do not need to print the cover and answer key for every child. Print the activity pages you intend to use and keep the parent notes available separately.
Finish with one explanation
Before putting the pages away, ask: “Why did water appear on the outside of our cup?” Explaining that in their own words connects a science term to something your child observed. Revisit the idea when you notice a cold bottle or a fogged window.